A collection, a collage, whatever you want to call it I'm obsessed!!!
I've been refurbing the trash pieces.....but all for myself MAHahahaha!
I had found these amazing old spoons, and I really wanted to display them somehow. Since it was Christmas time, I made them ornaments but now I gave them a more permanent home, in an old cabinet door! So fun, SOOOO easy!


This was my shabby little door. I also did this same type of project for my parents for Christmas. Instead of using a door, My hubby put together 2 simple rectangle frames with old wood, then we cut a piece of particle board that fits the back and covered it in burlap. Then on the front of one, I glued, a collection of vintage keys that were my grandpas, and in the second I displayed vintage screws, bolts, washers that were also my grandpas. It was really such a fun project making vintage screws into art and something memorable....and a gift that really means something, which I always love!

After cleaning out my little door, I measured and cut some burlap to fit inside. I used the spray glue to attach it to the wood. After letting that dry, I simply glued my spoons down using big globs of craft glue.


I have gone a little crazy with the frame collections. Our dining room has always had a ton of frames but I have always disliked the way they were on the wall, so change time! Since nobody bought the little chalkboard, I sure did decide to keep that puppy all to myself and throw it in the mix of frames.


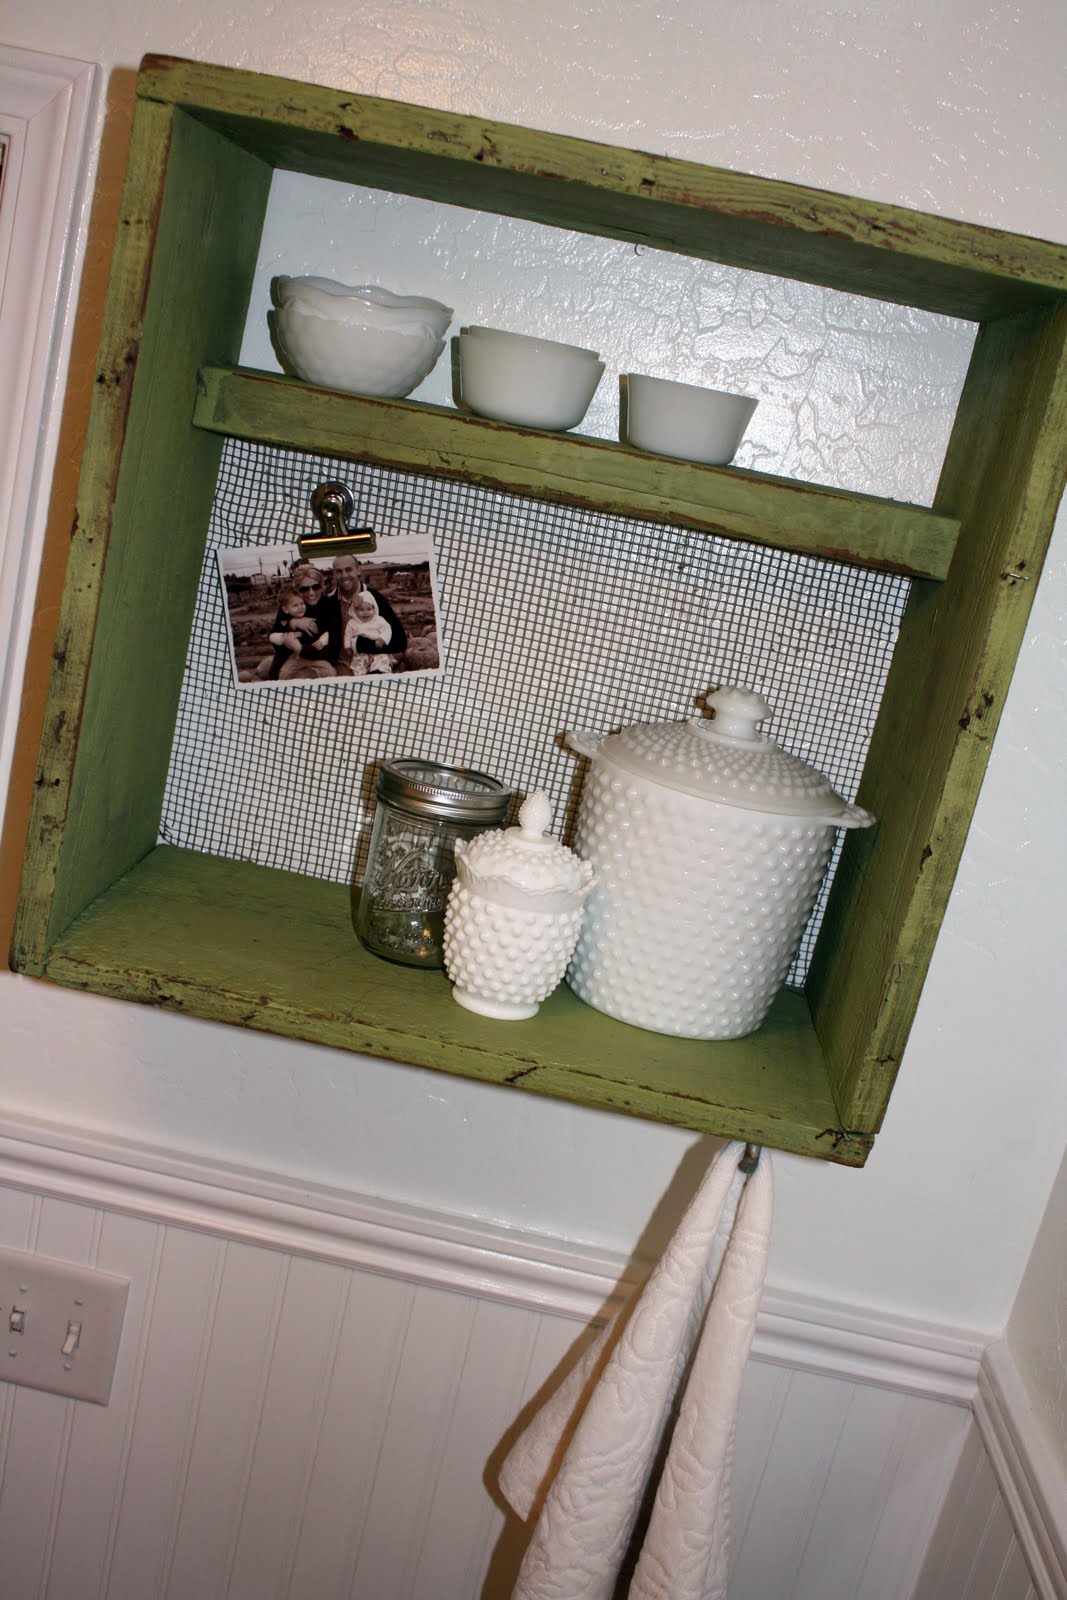
I also added a couple more to the silhouette wall in the guest room, and some to the semi-collage that i had started in my bathroom. For all of these projects, I used frames that I already had stashed! I seriously will never throw a frame away, because it is so so easy to paint them and use them in so many fun new ways.


This piece of wood from the junk stash was one I couldn't wait to get done! I had wanted it in my loft since I saw it! I just LOVE the ruffed up shape, and the beautiful color of the brown. All I had to do was put a chalkboard behind it, and added knobs on either side that I picked up at home depot.


I tied a piece of twine across and added a collection of our new family pictures.
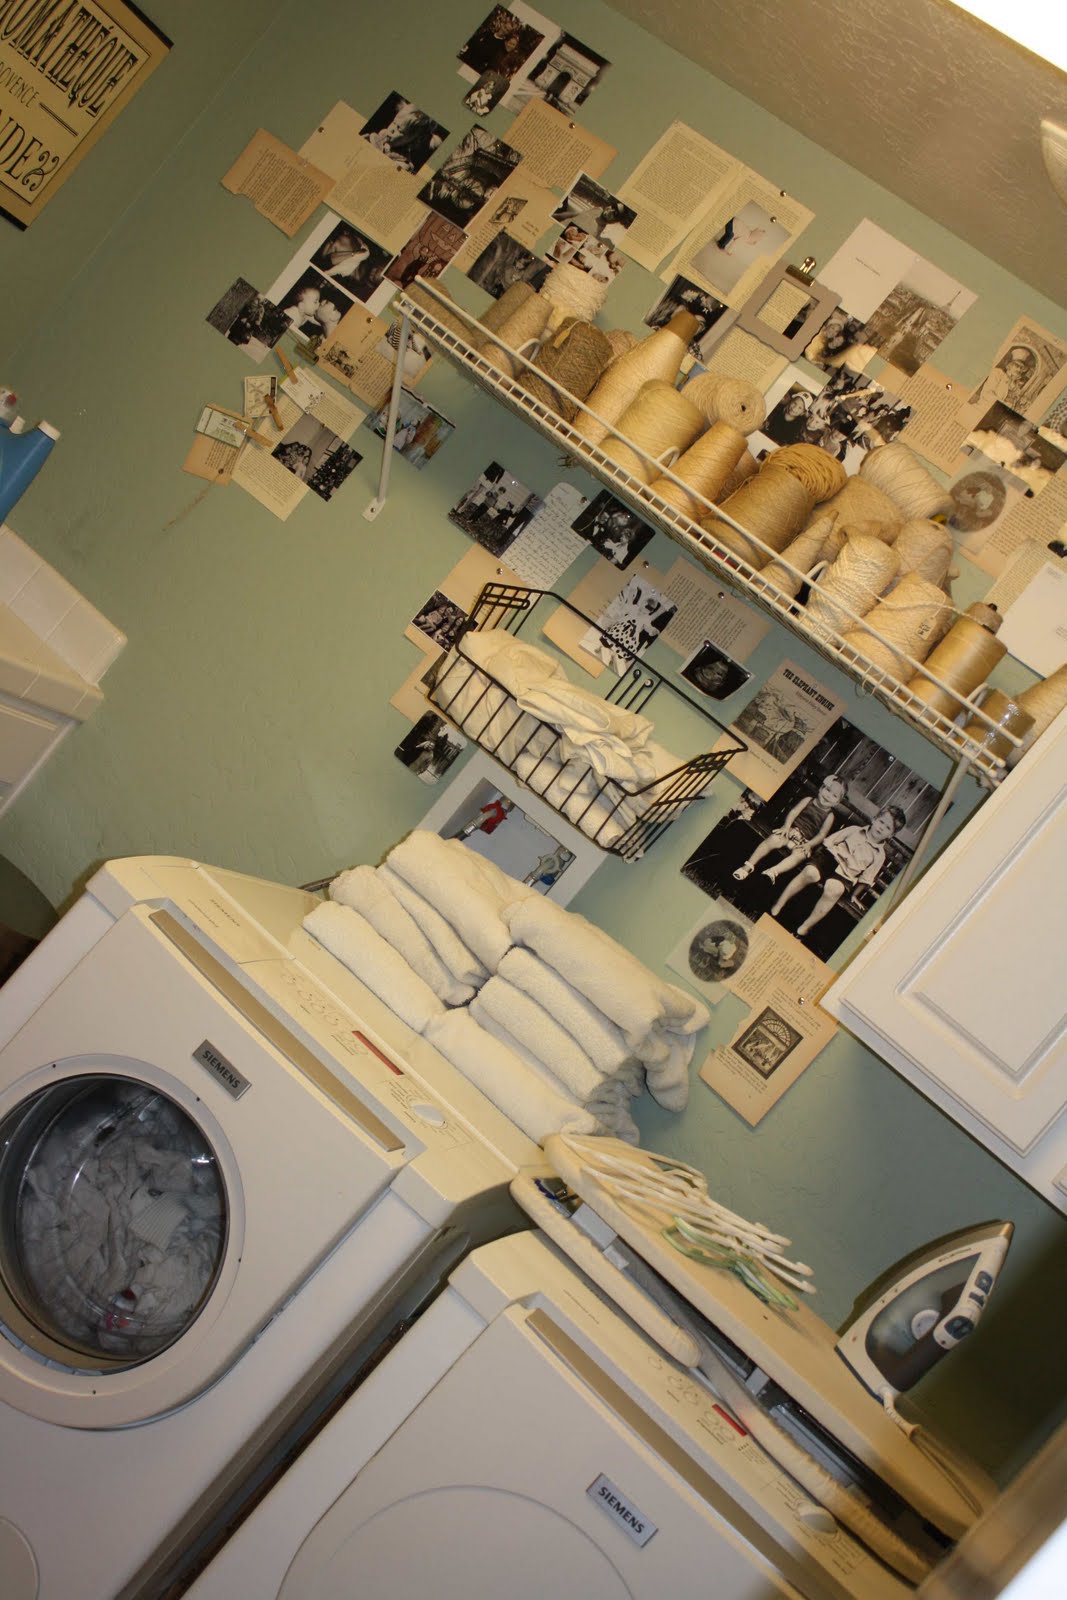
Below is an example of when I start I can't stop. I have just been so obsessed with the look of collages that I wanted one in my laundry room too! It was so so easy and fun. Just using push pins, old book pages, old photos, and cards I simply put them up! I just love the result! My hubby came up stairs only to discover my new craziness and I asked him if he liked it??!!! He simply tells me..If I put up one more collage in the house............me: but do you like it .... yeah, but it's becoming a bit over kill. HA! That defines me a guess...a bit over kill!:)

notice the laundry I am neglecting in the wash!

Just one more little collage...:)


 Do My Next Project With Me!!!!